Crossing the First Steps
Setting Up:
For my 3D game assignment, I wanted to go a step further with a game. I have a lot of experience with 2D games, so having the chance to work on a 3D game is a great opportunity to try something new. To start off I set up my Unity project for a 3D game. I set up a grey box level using 3D game objects provided in the Unity Engine. To get a sense of the space of my prototype level I used pre-made scripts of a character controller to get movement working and created a simple move script to have logs move along the river. The only advanced script I made at this time was the Spawner script, to spawn in the logs at different points and times.
Play Testing 1 & 2:
With this quick prototype ready, I could move on to QA at a Tea and Testing event at my University. Where I could get input on how the Player’s movement and jumping should feel, so with the feedback I could develop my own Player Controller script. At the event I got several key feedbacks on how to improve on my Player’s improvement and discovered bugs in the level and scripts I had made. Just before we went on Christmas Break, I got some more of my classmates to test my game, this time people were more positive about my game and any feedback they gave was more about the Player having animations. However the one critic I got was about the Camera, this was a problem I was very much aware of and have continued to develop it, but at this point I would need to figure out an alternative as the Camera was a key issue that needed fixing.
Player Controller:
The Player Controller was the most important thing to get right, I used a standard asset Player Controller for the first QA. But now I had to create a new one myself, one that would work in 3D space and have the simple function to jump.
3D Models:
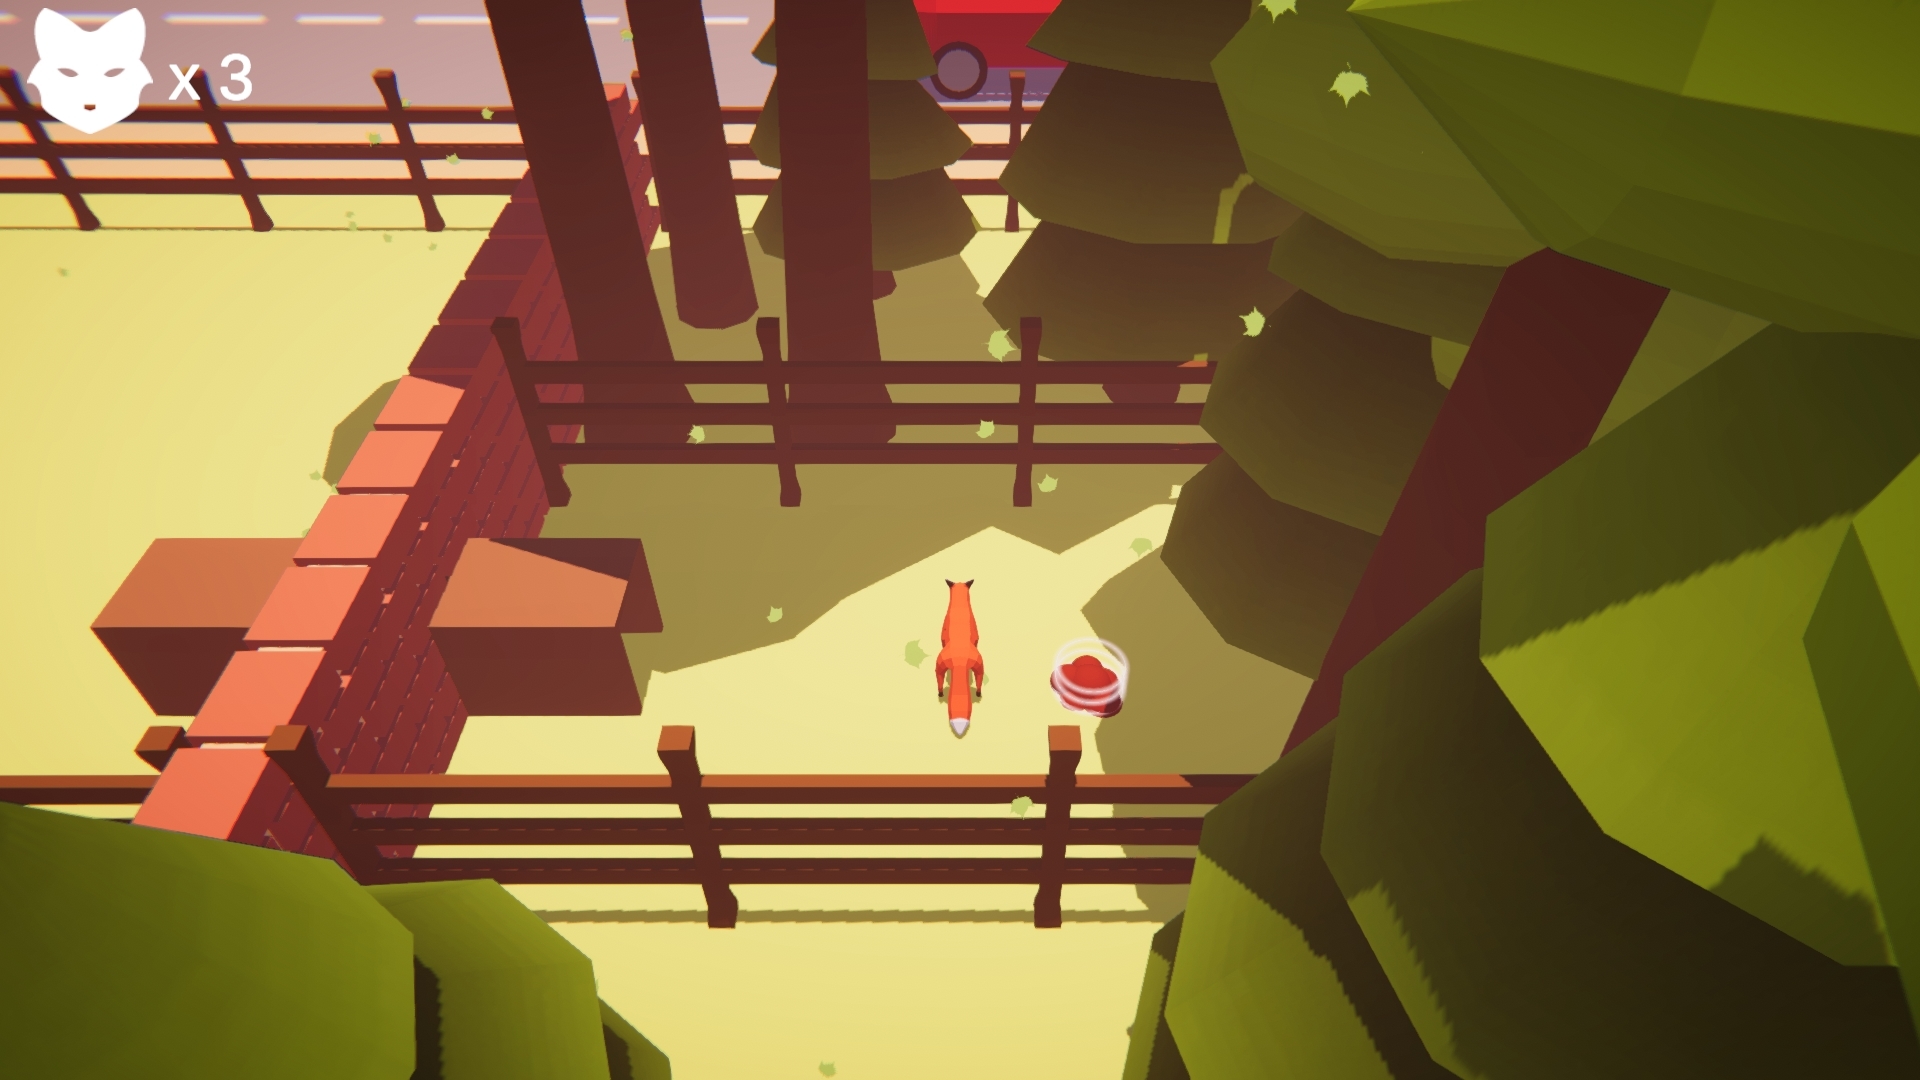
All the 3D models have been made by myself, I used Autodesk Maya to create the assets and exported them as FBX files and imported them into Unity. For the environment art assets, I used one texture map which were mainly with flat colours. I wanted to go for a low poly hard edge art style. So, I created art assets that reflected that.
Lives System and Hazards:
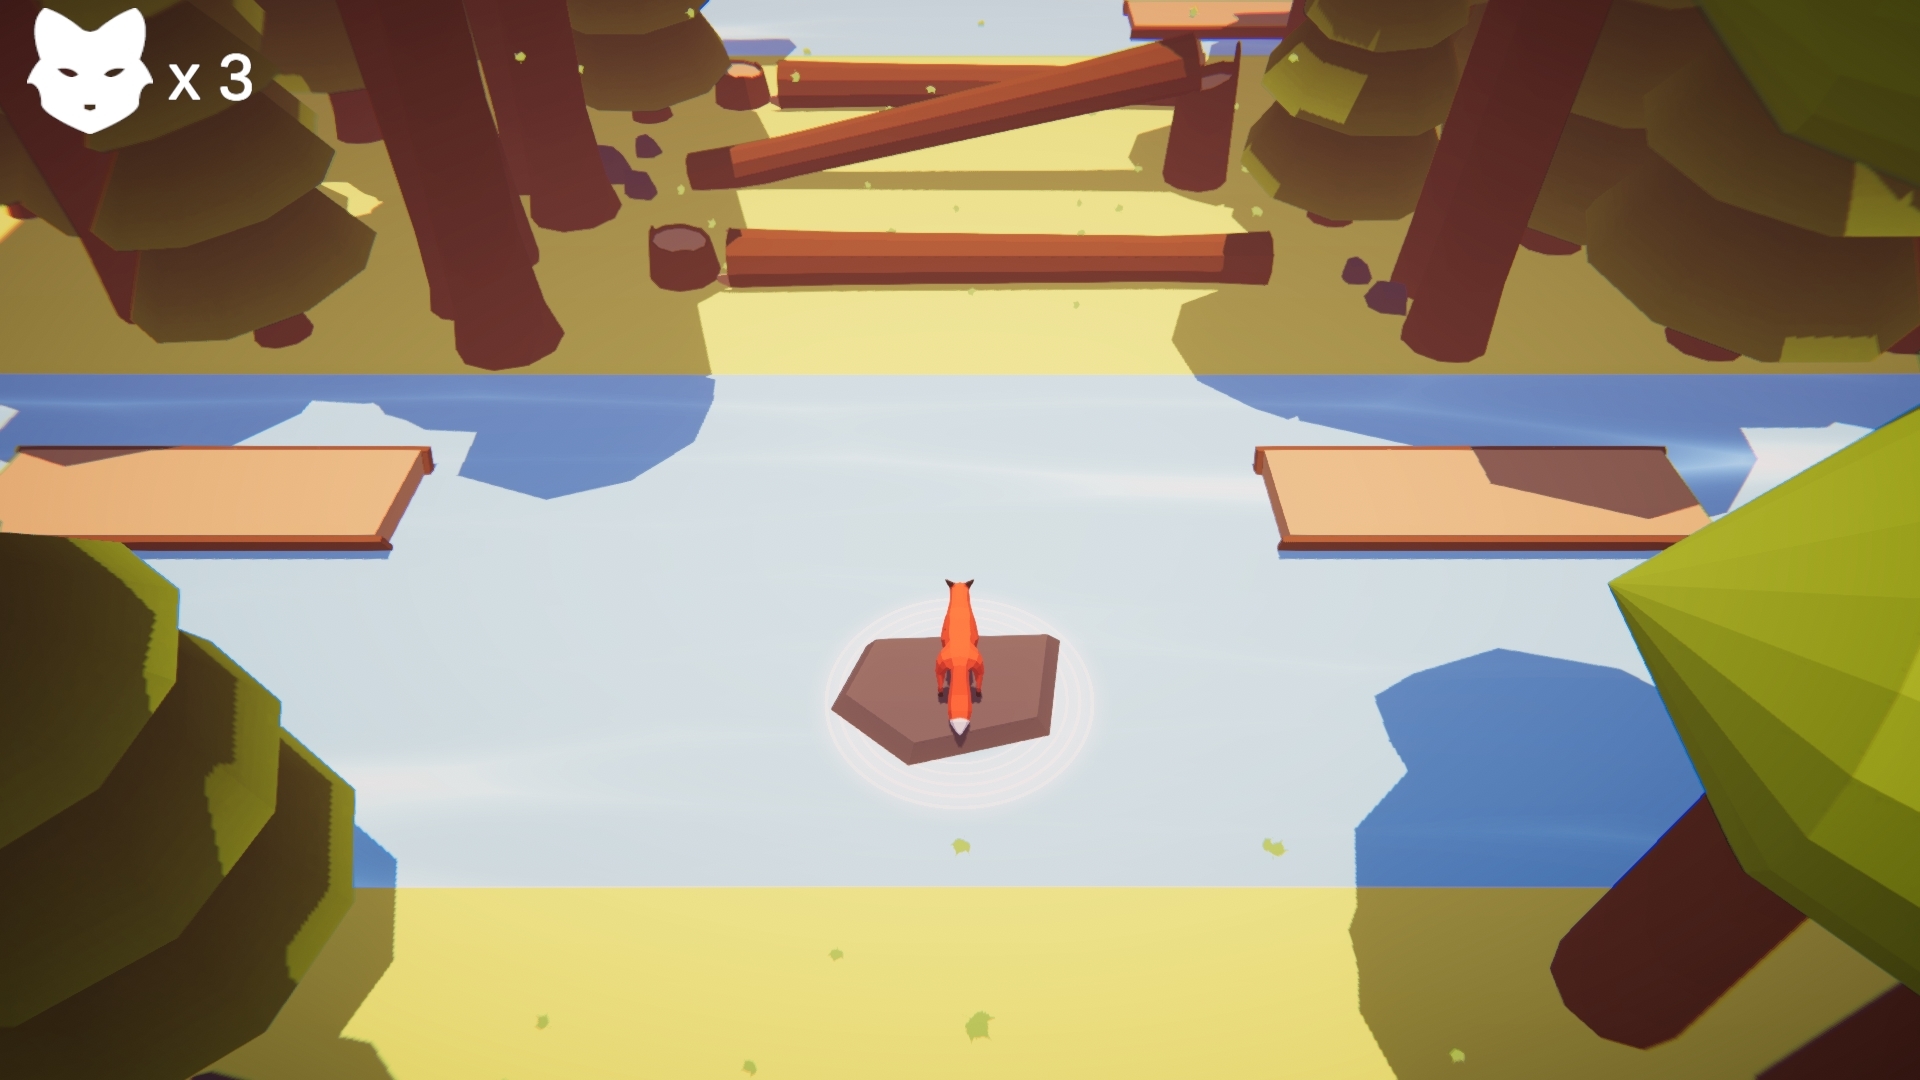
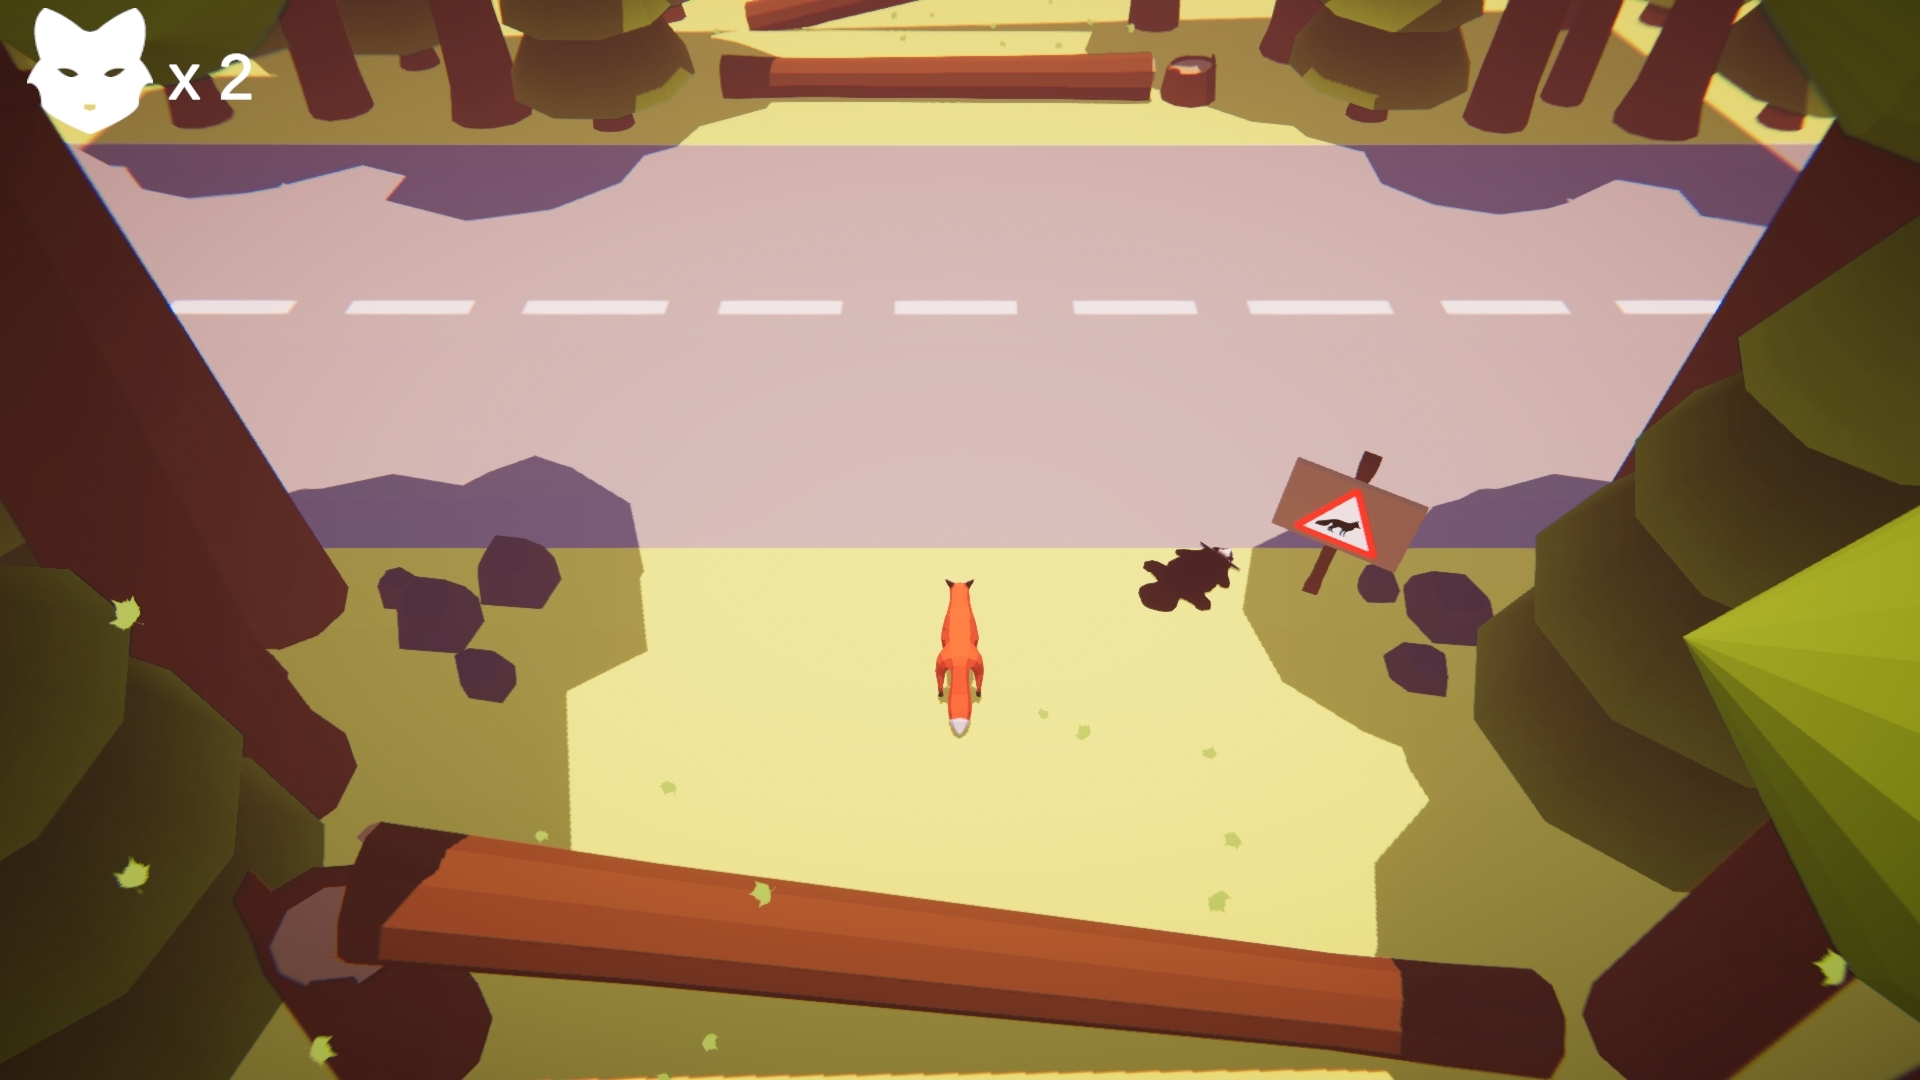
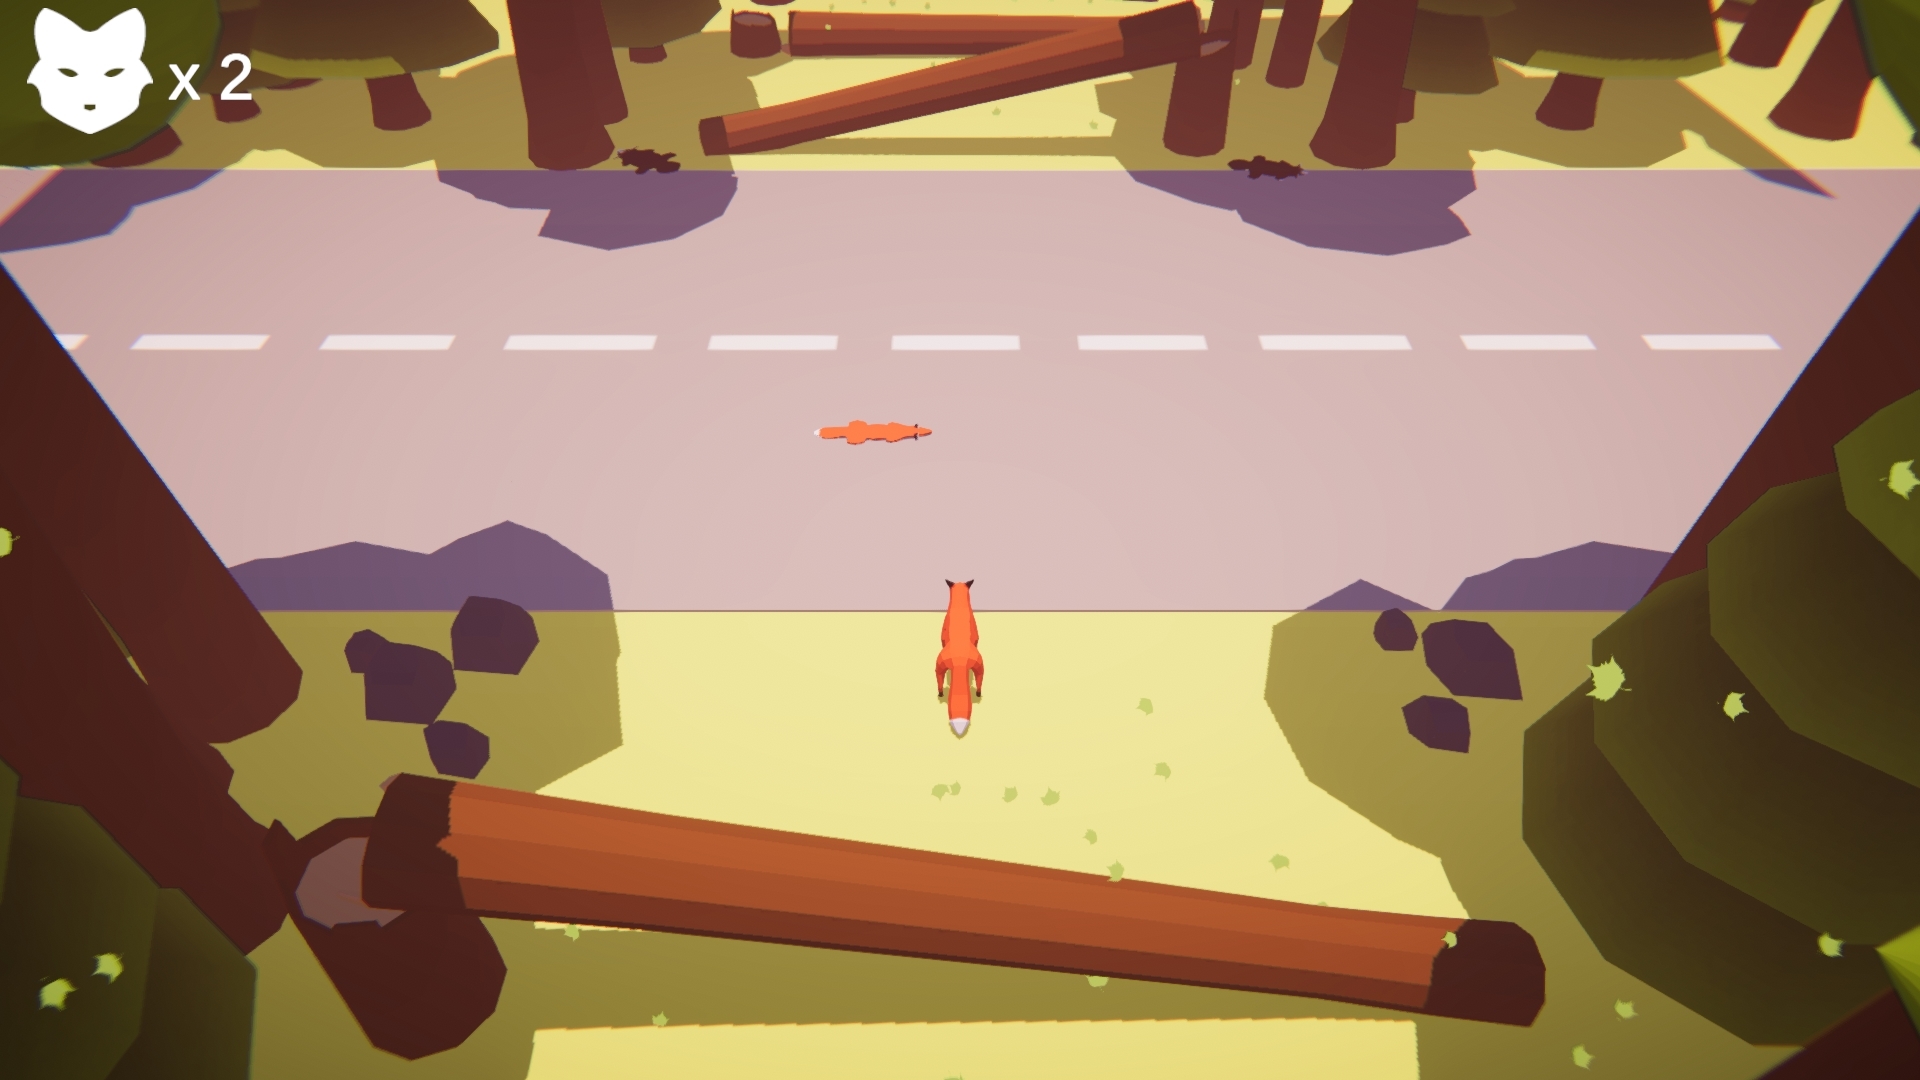
Just like the Player Controller script, the Lives System script I created myself. I wanted the Player to have a lives counter as their life rather than using a health bar, so when the player dies, they just immediately respawn back. To help the Player out I also created a Life Pick Up script so that throughout the levels the Player could find Life Pickups to boost their lives. As for the Hazards I reused the same script to kill the Player in my 2D Pivot Game for the previous assignment but synced it up with the Lives System script. The Player must overcome three different hazards, water which you can fall into, cars and buses which can hit the Player or dogs which can chase the Player. The Water was simple to do, the cars and buses where fun to create as I had to make patterns so the Player could cross the roads but still offer challenge. I used the Spawner script I created for the logs to spawn in the cars. One cool addition I added to my game was from a Player who tested the gameplay, the Player wanted there to be a way to indicate where they died so they could see their progress. So, I came up with the idea of when the player gets hit by a car it drops a flatten fox so the Player can go back and see the spot where they died. This was really cool to add and can be compared to real life with roadkill.
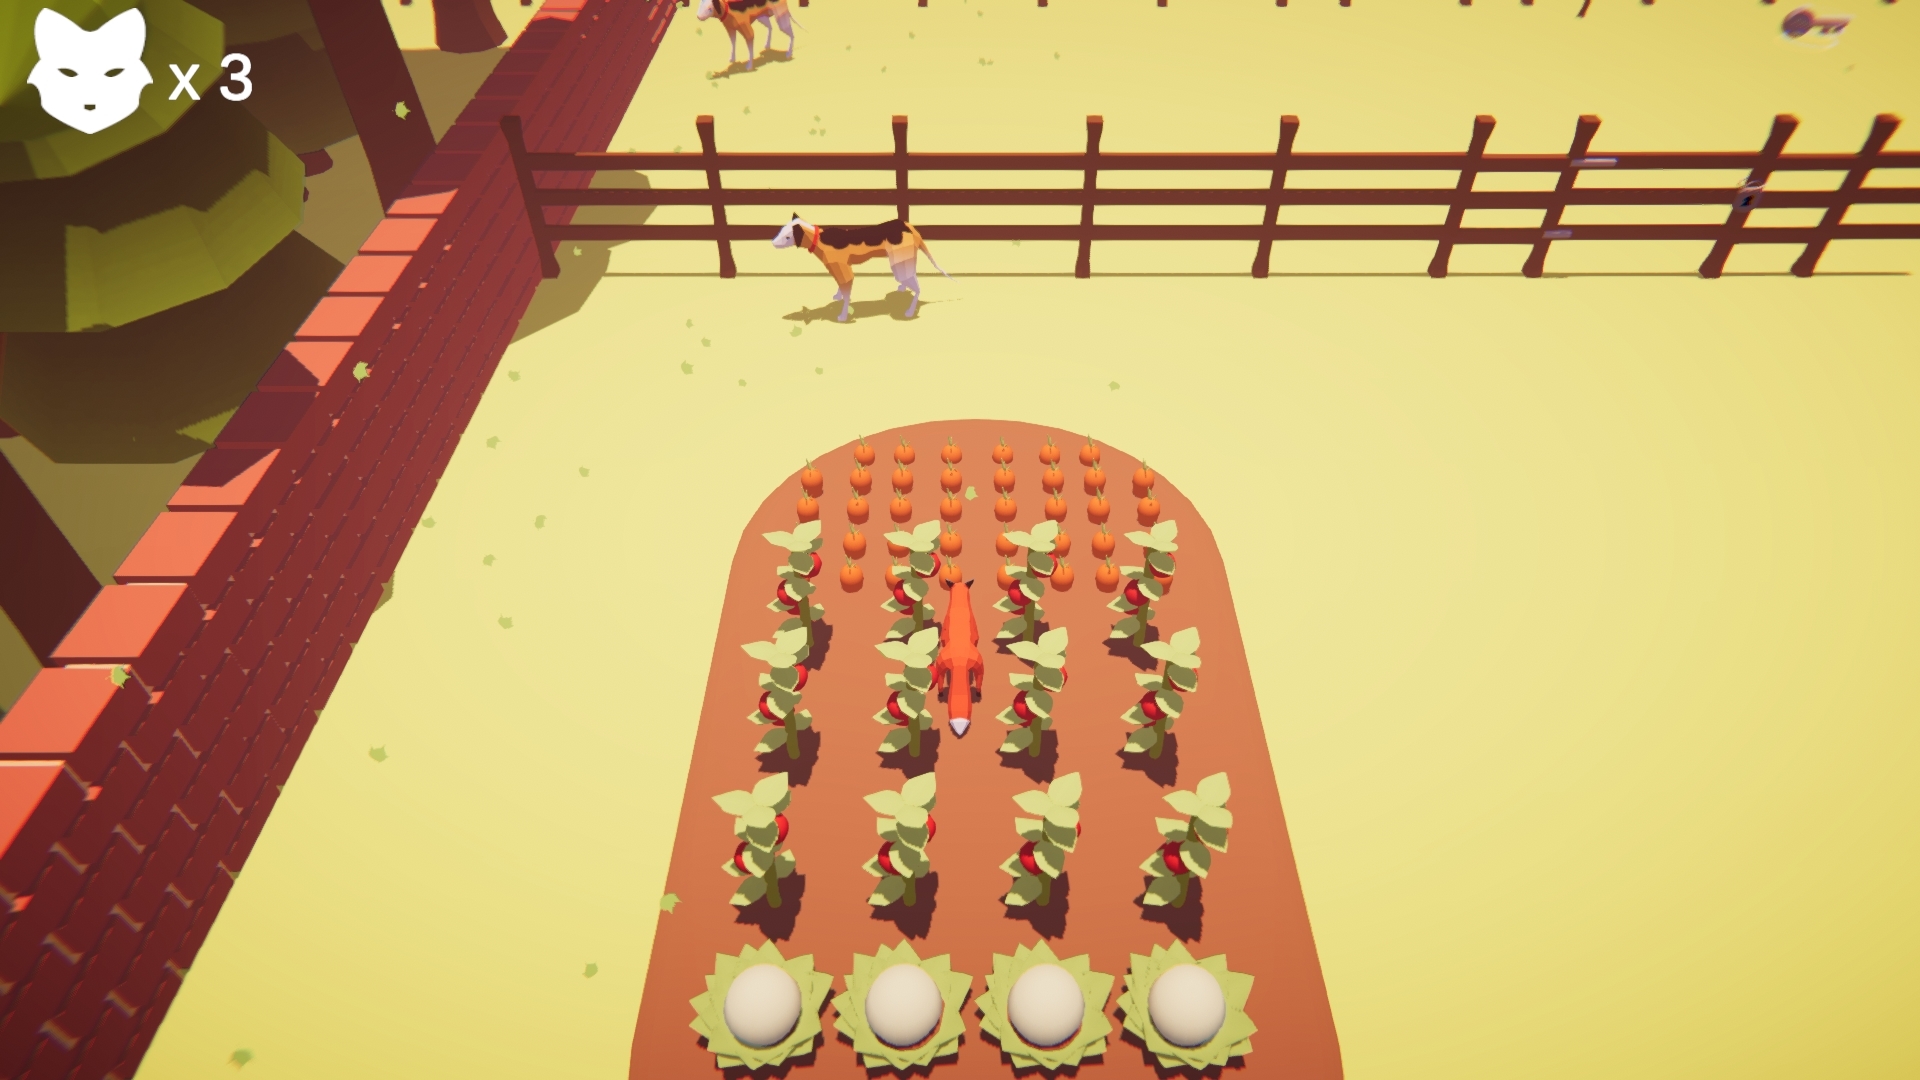
For the dogs I wanted to up the gameplay experience by having them chase the Player. The dogs go on a patrol and if the Player enters the sight radius the dogs chase after them. For this I followed a tutorial series on the Unity Learn site called ‘John Lemon's Haunted Jaunt: 3D Beginner’ on this tutorial they had an enemy that if it spots you buy enter its line of sight you get a game over, this was useful but I didn’t want the Player to die as soon as they are spotted, I wanted them to chase the Player. So, after some forum and tutorial searching I discovered a written tutorial called ‘Navigation with the Nav Mesh Part 4: Patrolling and Chasing’ where I could use Nav Mesh to help get the dogs to go on patrol and then change to chasing the Player. I combined the two tutorials to achieve what I wanted. Although it isn’t perfect and can do with a bit more work, it does work, and it adds to the overall gameplay experience. The gate and key were created with the same script I used in my 2D Game project, although I changed the code slightly so it is more efficient. I created an animation with the gate opening.
Menu UIs:
In previous assignment I had simple UI interaction, however this time I wanted the Player to have access to a pause menu which paused the game and allowed them to un pause, restart the current level or go back to the main menu and quit the game. I also created all the UI elements with vector art and Text Mesh Pro. The main menu is simple as I didn’t need anything too advanced. The last menu I created was the game over menu, with this I had a traditional game loop where you start the game, play it, get a game over and quit the game or try again to finish the game. One extra detail I created was level transitions which add some fine polish to the game, they happen once the Player presses one of the UI buttons to transition to another scene.
New Camera:
After the second play testing, I got one main critic about the camera which was causing issues with the Player not seeing enough or the camera would jitter and fly off into the void. After I went to a Unity workshop about Cinemachine, I discovered I could use a virtual camera to create a smoother camera experience. Which worked out really well it solved the all the issues I had with the camera. Another final detail I did with the camera was for the credits, I animated the camera to move throughout a level to view the credits.
Shader and Effects:
With this game project I learnt and tried out a lot of new techniques, one of these was creating a water shader. Shaders are something I have been interested in learning, while shaders can be created with code. I wanted to take the opportunity to use Unity’s Shader Graph to create a simple cartoon water shader that indicates movement by creating ripples. This was a simple to create and was a good fit with my aesthetics of my game. Another aesthetic details I wanted to create was using particle effects for adding rim ripples around rocks in the river, visual effects to indicate pick ups of end of the levels. I also used them to create falling leaves to bring life to the world of my game.
Sound and Music
Extra details were adding sound and music, all of the sounds effects and music were royalty free music that I found on Bensound or FreeSounds websites. For the music I used it in the main menu and credits scene only, while all the sound effects were added to the Player, art assets or the environment. I have credited the creators of these audio clips in my game’s credits .
Post Processing
The last thing I needed to add to my game which our tutor mentioned would good to add was Post Processing. With this I would be able to make the game look more polished and visually pleasing. I have never used Post Processing before, but I really enjoyed using the tool and found it make the project feel complete. I will defiantly be using this in future game projects.
Overall Experience:
I really enjoyed working on this project, I feel that I have pushed my coding and design skills further; and I have made a vertical slice of a 3D Game with stronger developed scripts that helped create the experience I wanted. I feel more confident in game development and working on 3D games, I feel like I can explore more ways in creating gameplay experiences. I would like to note that there is one thing I ran out of time to add and that was animating the fox and dogs, especially as the who game feels very polished and complete. This will be something I will add in my spare time. Overall this will be a great addition to my portfolio and show case new skills I have gained throughout this module.
Files
Get Crossing
Crossing
Cross to the other side.
| Status | On hold |
| Author | Michael Kirby |
| Genre | Platformer, Adventure |
| Tags | action-game, Arcade, Controller, Game Design, jumping, Low-poly, platform-game, Singleplayer, Unity |
Leave a comment
Log in with itch.io to leave a comment.